This post will provide detailed instructions on the hosting process of a dash application on Render. Render is a hosting service provider. It offers a free tier that can be used to host Python application projects. It could be a great option for students or developers for their school projects or hobby projects.
In this post, we will see the step-by-step process of successfully deploying dash application on Render.
The steps are given following.
- Prepare your dash application
- Put it on GitHub
- Sign up on Render and create a web service
- Configure your application
- Volla, your application is running online 🔥
1. Prepare your dash application
The first step is to get your dash application ready. For illustration purposes, I am using a minimal dash application available here.
The source code is given below.
app.py
from dash import Dash, html, dcc, callback, Output, Input
import plotly.express as px
import pandas as pd

df = pd.read_csv('https://raw.githubusercontent.com/plotly/datasets/master/gapminder_unfiltered.csv')

app = Dash()

app.layout = [
    html.H1(children='Title of Dash App', style={'textAlign':'center'}),
    dcc.Dropdown(df.country.unique(), 'Canada', id='dropdown-selection'),
    dcc.Graph(id='graph-content')
]

@callback(
    Output('graph-content', 'figure'),
    Input('dropdown-selection', 'value')
)
def update_graph(value):
    dff = df[df.country==value]
    return px.line(dff, x='year', y='pop')

if __name__ == '__main__':
app.run(debug=True)You can check the updated file here.
The next thing you need to do is to make a requirements.txt file. This is the file that contains the dependencies of the application or in other words which Python packages your application is using.
You can use the following command to save the list of Python packages used in your system (I would suggest using virtual environments, e.g., venv).
The above command will create a new file requirements.txt which lists out all the python packages in your current local dev environment.
You need to edit this file and at the end add gunicorn.
We mainly did two things
- First, we added
server = app.serverline in the application. - Second, we generated
requirements.txtfile and updated it by addinggunicornat the end.
2. Put the application on GitHub
Once your application is ready, push it to GitHub.
This is what it looks like after putting your files on GitHub.

3. Sign-in to Render and create a web-service
Now, we will move to the Render platform and sign in (You can use Google login). Once you are logged in, you will see a button New+. Click on that button and create a web service.

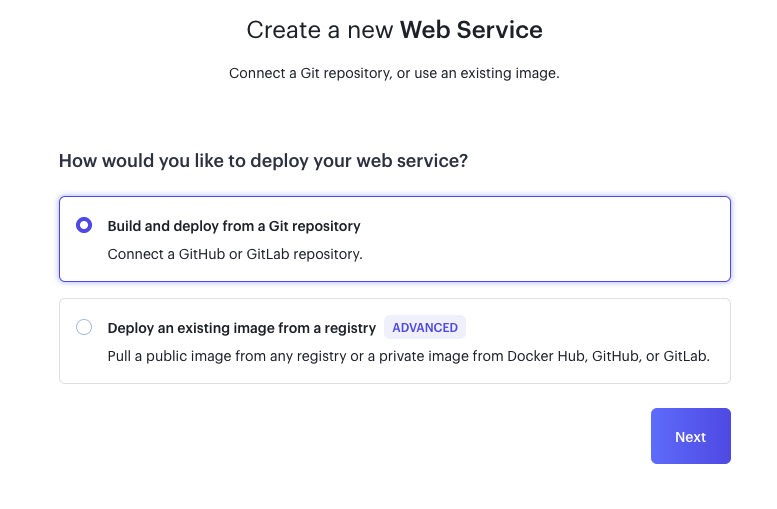
Next, choose ‘Build and deploy from a Git repository’ on the screen (also given below).

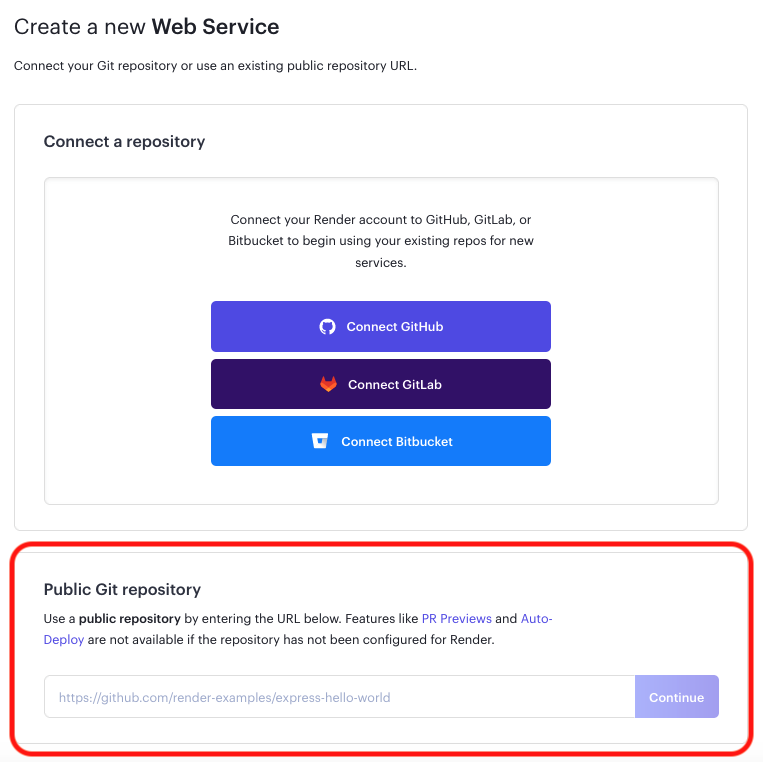
On the next screen, you need to provide url of your Github directory containing code for the dash application. 
Once you provide your GitHub repository URL, click on the Continue button which will take you to the final step of configuration.
4. Configure your application
In the configuration phase, we will make a small change in the settings. You will see different settings configurations. What you need to do is changing the start command from its default gunicorn app:app to gunicorn app:server. After editing, don’t forget to save it.

That’s it!!
It will take a few seconds. You will see the below screen.

Once you see the message ==> Your service is live 🎉, that means your application is successfully deployed.
You can access the deployed application here: https://render-hosting-fxqr.onrender.com/
Github repo:https://github.com/pankajchejara23/render_hosting/tree/main